Nevron writer height 40

Other How To's

Getting Started

Here are some tips and tricks for getting started with Nevron Draw - creating and formatting your first diagram!

Creating custom shapes

Nevron Draw allows you to create completely custom shapes with few clicks only. To learn more about this feature, click here.

Connecting Shapes

Nevron Draw comes with a large number of predefined connector options that can satisfy every need. Check out the main features here.

Organizational Chart

With Nevron Draw you can create advanced organizational charts with just few clicks. Find out how.

Understanding Anchor (main) Shape

With Nevron Draw you can create advanced organizational charts with just few clicks. Find out how.

Create and modify ports

Learn how to create new ports or modify the existing ones to achieve more advanced functionality and looks.

Create custom shapes library

See how you can create reusable custom shapes library and load them any time you need them.

Work with smart shapes

Learn more about the new smart shapes in Nevron Draw and what you can achieve with them.

Work with automatic layouts

Learn more about the automatic layouts in Nevron Draw and what you can achieve with them.

Drawing custom shapes

As we have already mentioned in previous How To topics, even though Nevron Draw comes with a large number of predefined shapes you can also create your own if you need anything a little more specific or just a shape you cannot find in the libraries.

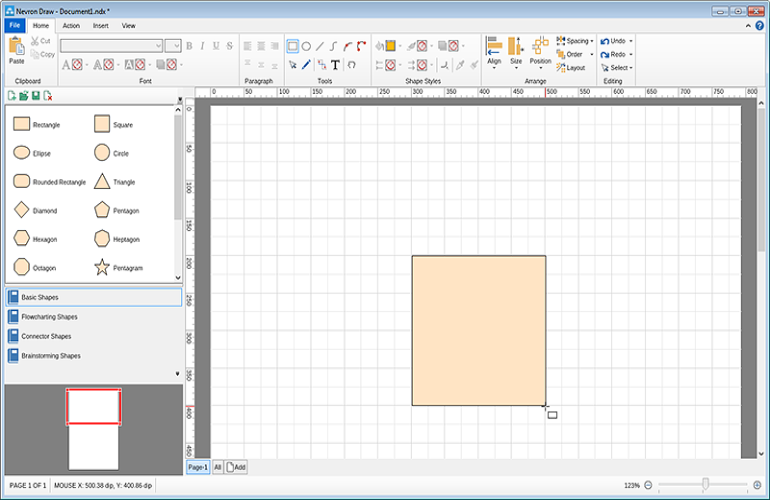
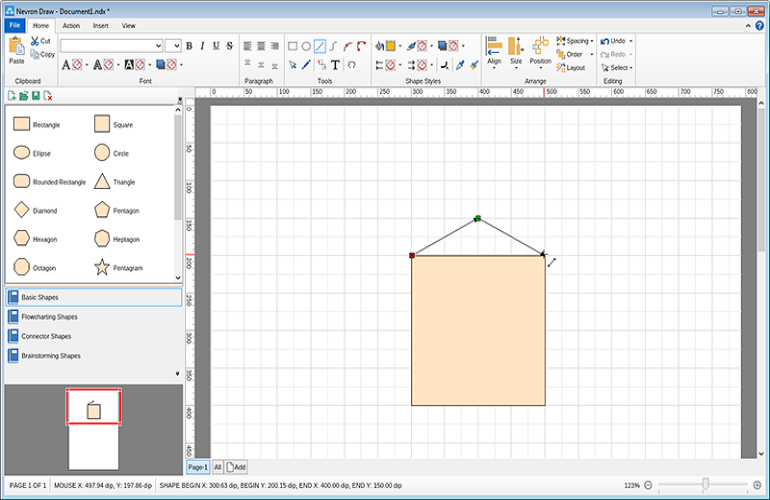
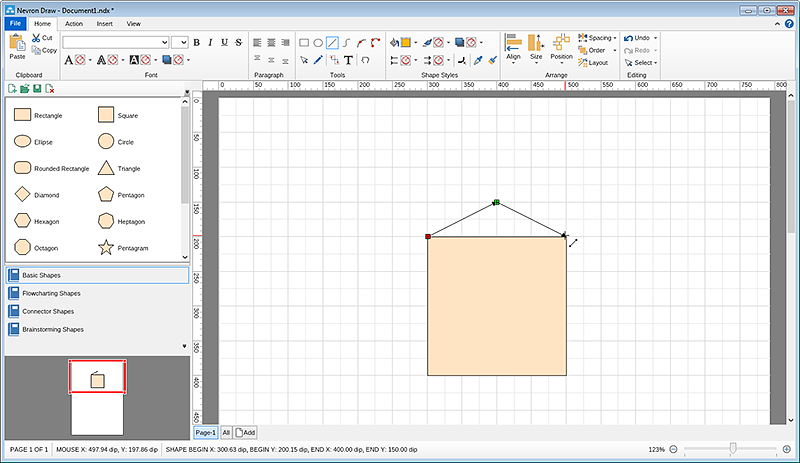
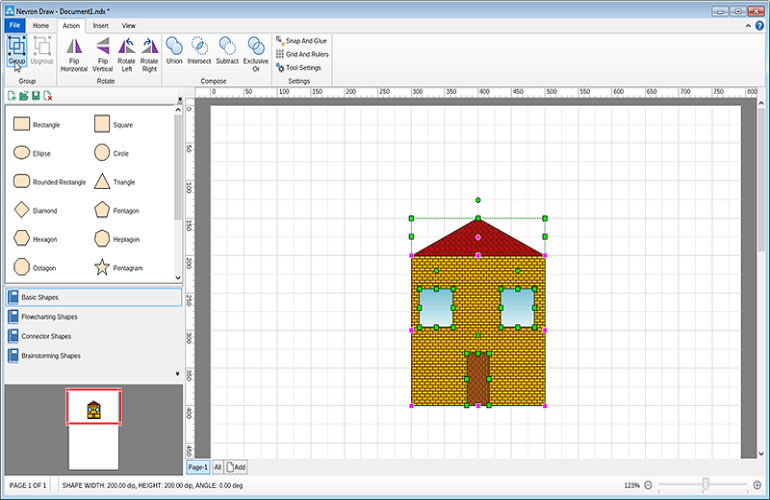
So far we have described how to create a custom shape via composing shapes. This however is not the only way a custom shape could be created. Another method for making your own is by simply drawing them using the tools in the Tool section of the Ribbon.

Let’s say you would like to use a house shape in your diagram. You can draw a house in few very simple steps:

Create a house first step

First Step
Select the Rectangle tool. Click somewhere on the design area and drag the mouse until the rectangle is as big as you would like it to be.
Create a house second step drawing a triangle

Second Step
To make the roof of the house you can either use the predefined triangle, or you can draw a triangle yourself by using the Line tool.

Create a house third step

Third Step
If you like to also draw a door and a window of your house you can use the Rectangle tool again.
Create a house fourth step

Fourth Step
ow the only thing left is to format your shapes (change the colors, outline colors and etc.). Then select all the parts and group them either via the group button on the Action tab of the Ribbon, or via pressing ctrl + shift + G on your keyboard.

Drawing your own shapes is as easy as a game for kids - all you need for it is a vision and some imagination.

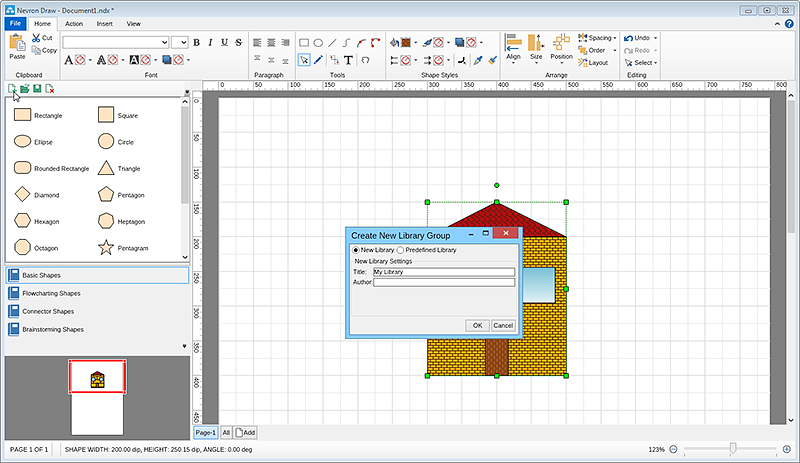
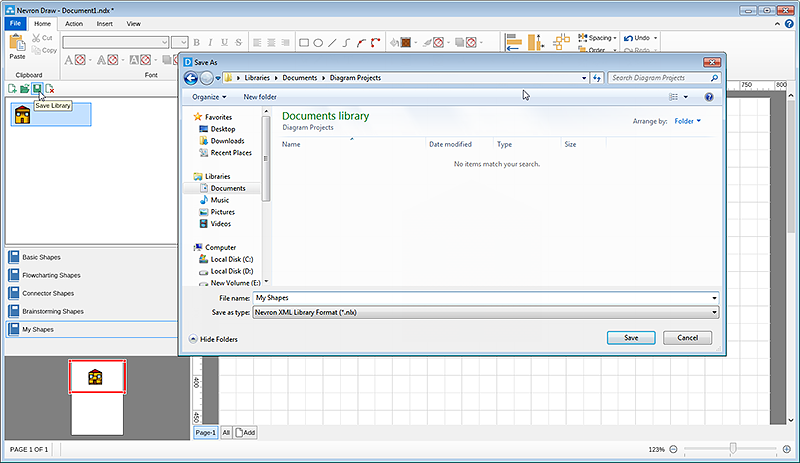
Tips & Tricks: If you would like to save your custom shapes, simply create a new library, then drag the shape and drop it in the library area. Don’t forget to “Save” your library afterwards!

Once you do that your custom shapes will be saved and you can always use them again in other projects just like all the rest of the shapes in the default libraries.
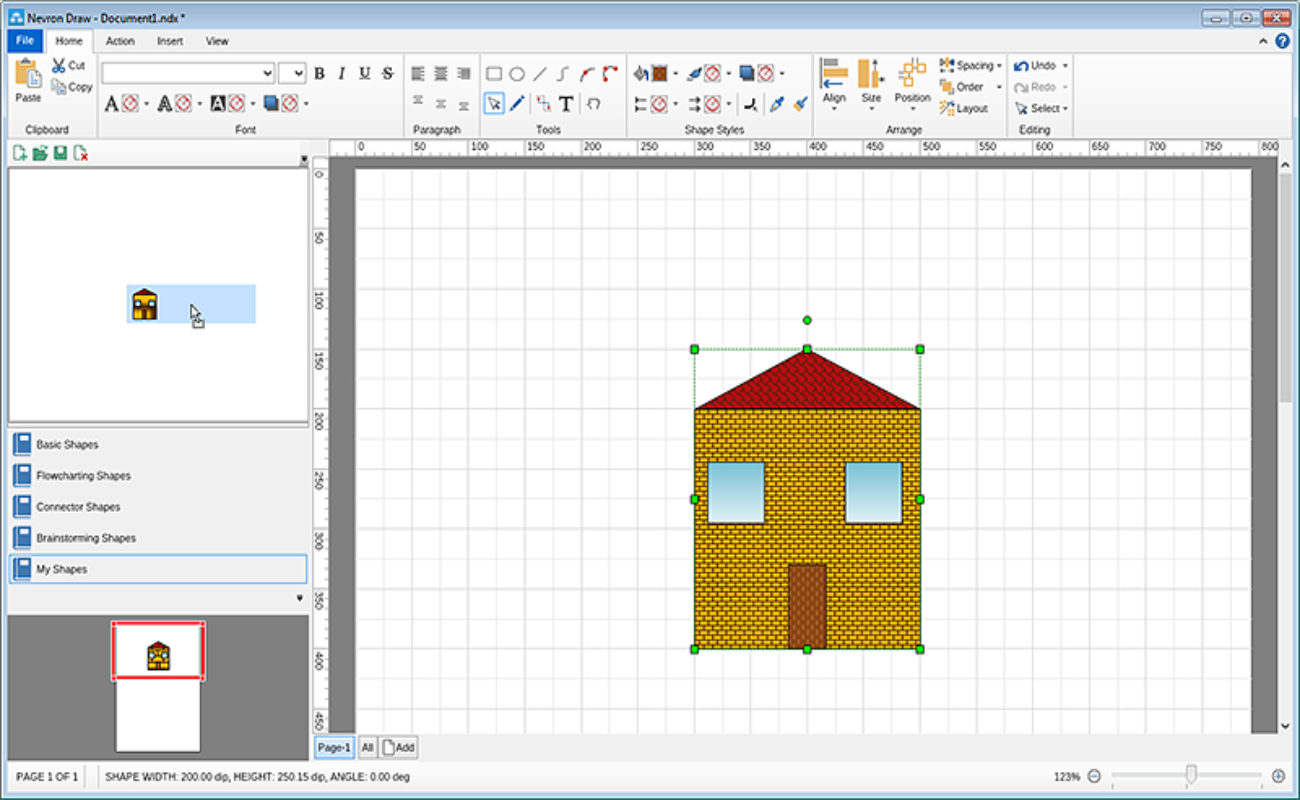
Create a new libraty

Drag and drop custom shapes in the library area

Save the new library