Ports are the connection points to which multiple plugs can be attached. Nevron Draw support 3 types of ports:
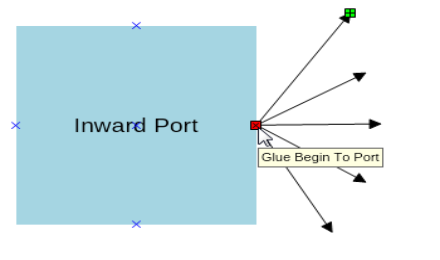
This is the default type of port that allows connecting incoming and outgoing plugs to the shape. You can connect a number of connectors to an inward port, but you cannot connect two shapes in they both have inward ports.
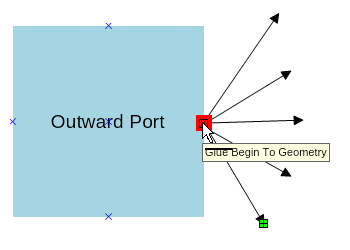
This type of ports does not allow connectors, but it allows an inward port to be connected to it. In other words you can connect 2 shapes (that are not connectors) if one of them has an outward port and the other one an inward Port.
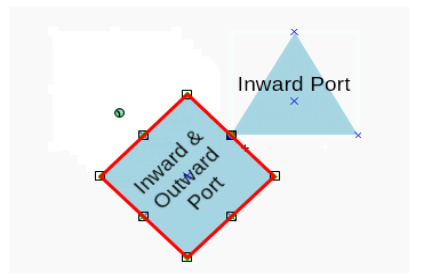
The Inward and outward port is a combination of the above two mentioned models. It allows the connection of both connectors and shapes and you can use a single port to combine both (as demonstrated in the image). You can use this type of port for more complex diagrams or when you need to connect a single shape to many other shapes and connectors simultaneously.
All predefined shapes come along with some already set inward ports. Sometimes however the ports may not be located exactly where you need them to be or may not be enough. Custom shapes also have no ports at all. For this reason, Nevron Draw allows the creation of your own custom ports and the ability to modify the existing ones. You can add/delete/modify ports on both connectors and shapes.
To create a port for a connector or a shape, follow these steps:
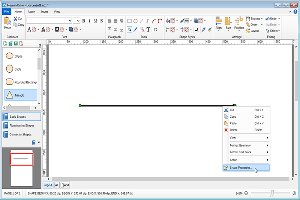
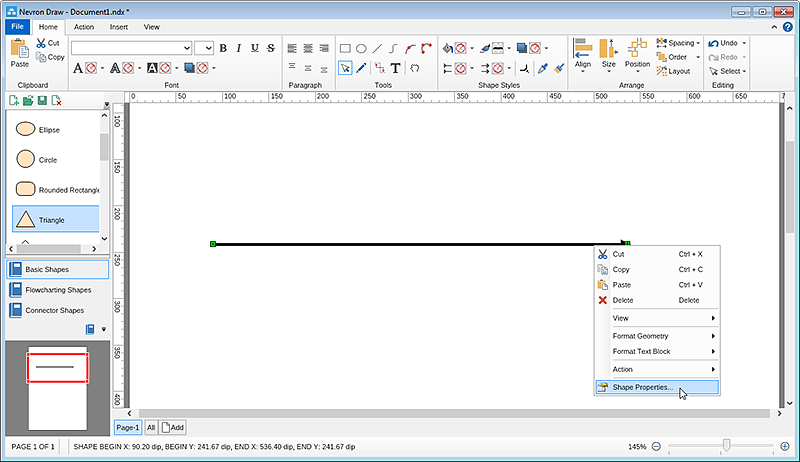
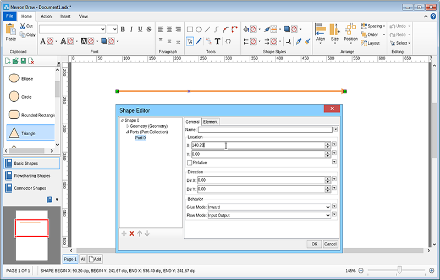
To find all shape properties, right click the shape you want to create a port for and go to “Shape properties” as displayed on the screenshot here. This will open a “Shape Editor” window.
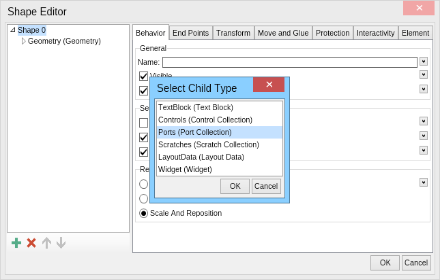
If your shape does not already have an existing port collection, you need to add one so you can then specify ports. To do this click on the little green cross on the left corner on the bottom. This will open another window that offers several options. As for now we are interested only in the “Port collection”, so select it and click ok.
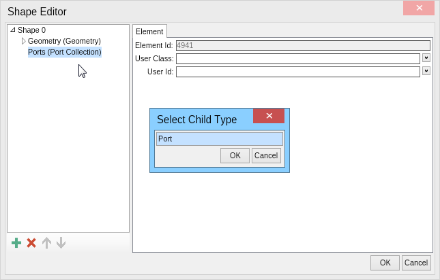
To add a new port to the already created “Port collection”, select the collection in the menu on the right of the “Shape Editor” window and click the little green cross on the bottom left corner again. This will offer you to add a “Port” - click “OK”. Once you do this on the “Shape Editor” window you will see all “Port” options displayed.
The first line in the port’s editor lets you type the port name. You can leave it empty and Nevron Draw will automatically add a name for it like “Port1”. My advice is to name your ports yourself so you can easily find them afterwards. This may seem unnecessary, but it can be really handy after you have created more than one shape.
Right below the Port Name are the “Location” tabs. You can specify the location of the port in two different ways:
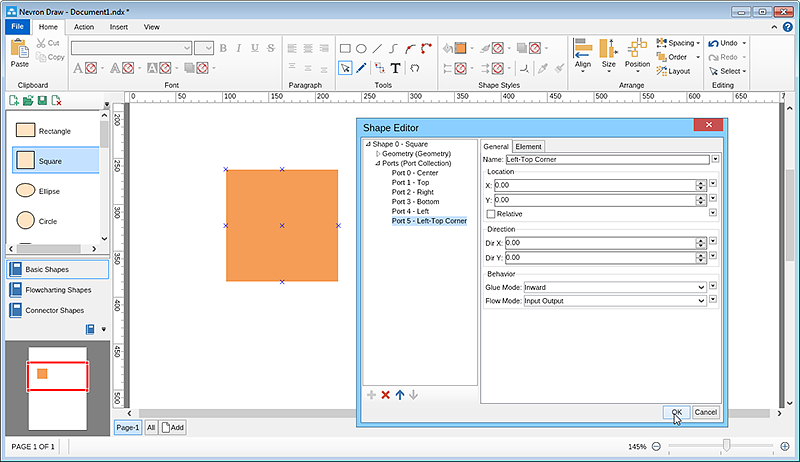
a. Exact location based on coordinate system.
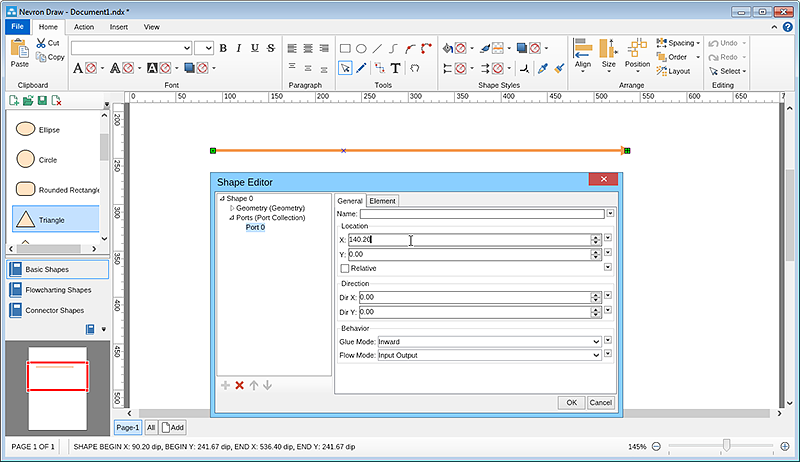
Let say I want to position my port exactly 50 dip from the beginning of my arrow. To do this I have to locate the beginning of my shape according to the rulers in Nevron Draw. This is easy to do – just point the mouse at the beginning of the shape and look at the Status Bar (the line with information all the way at the bottom of Nevron Draw’s window). In the current example my arrow starts as 90.20 dip + 50 dip = 140.20 dip. This is a good way of positioning your ports if you need them to remain in an exact spot no matter how many times you resize the shape or move it.
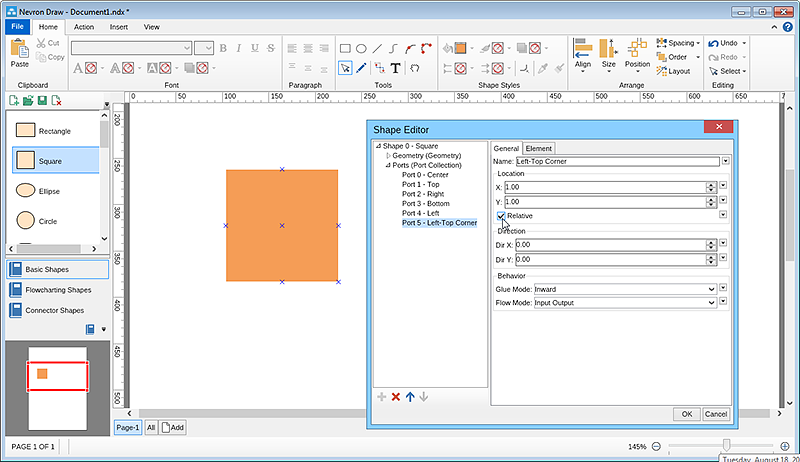
b. Relative location of the shape.
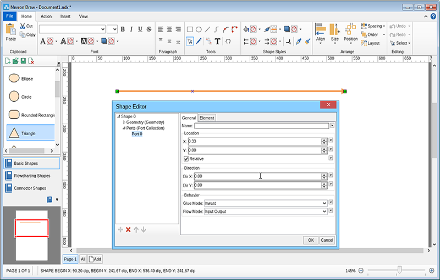
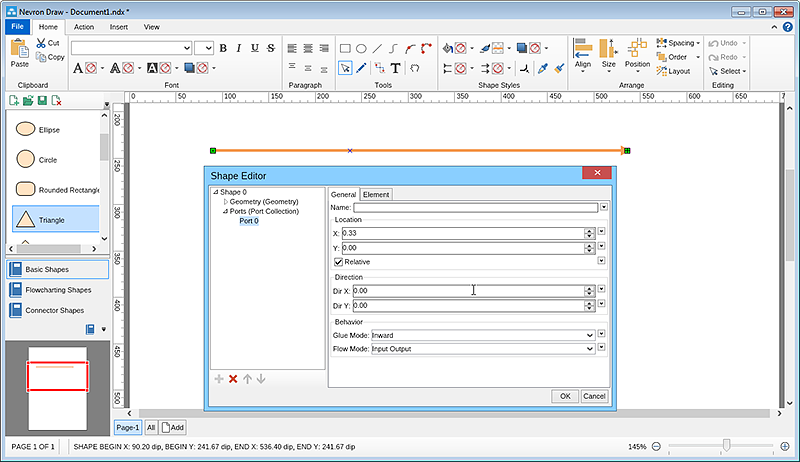
If you select the check box “Relative”, Nevron Draw will automatically understands the shape like a line that starts at 0.00 dip and ands at 1.00 dip. So if now you type 0.33 dip on “X” this will position the port on one third of the arrow, and it will remain being positioned at one third of it no matter how many times you resize it.
Adding a port to more complicated shapes follows the exact same logic, only this time you need to consider the Y axis position of the port as well. In the below screenshot for example you’ll see that if you need a port added to the top left corner of the shape, you simply leave the X and Y values at 0. For the bottom right corner the X and Y values will be 1.0 and 1.0. For the top right corner X will be 1.00 and Y will be 0.00 and so on.