+1-888-201-6088 | email@nevronoffice.com

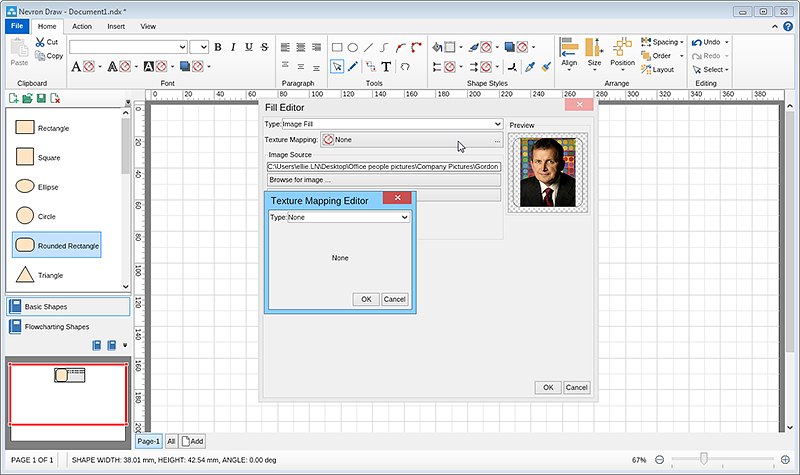
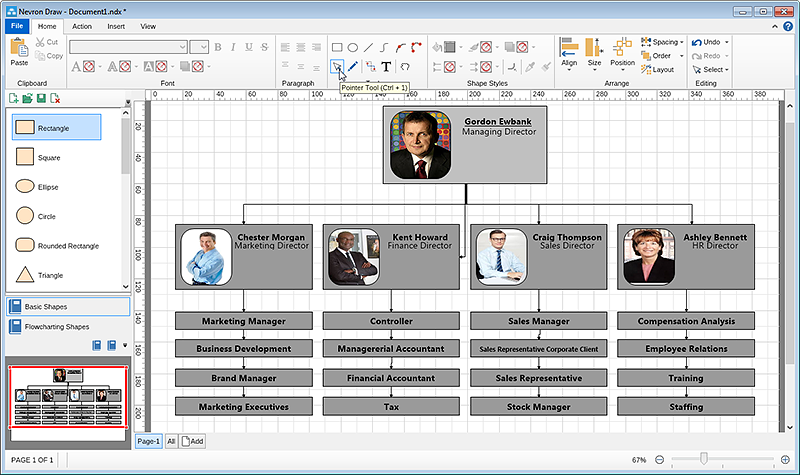
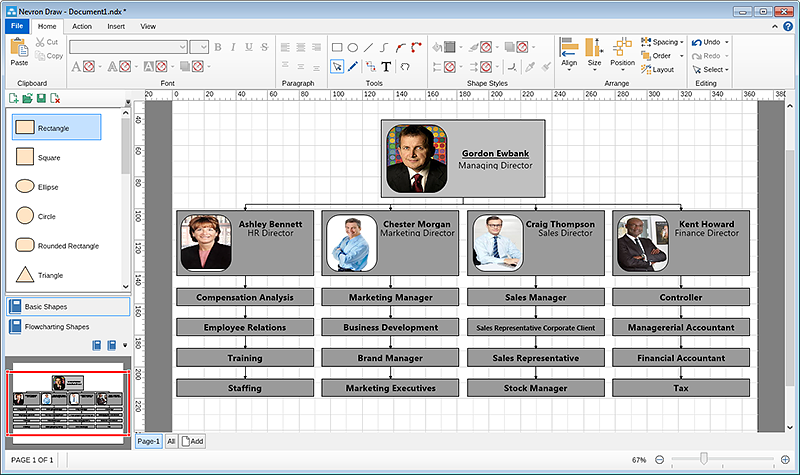
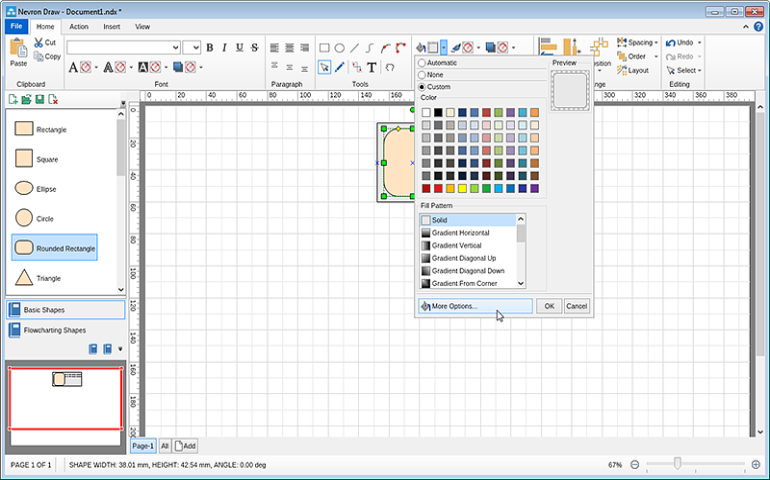
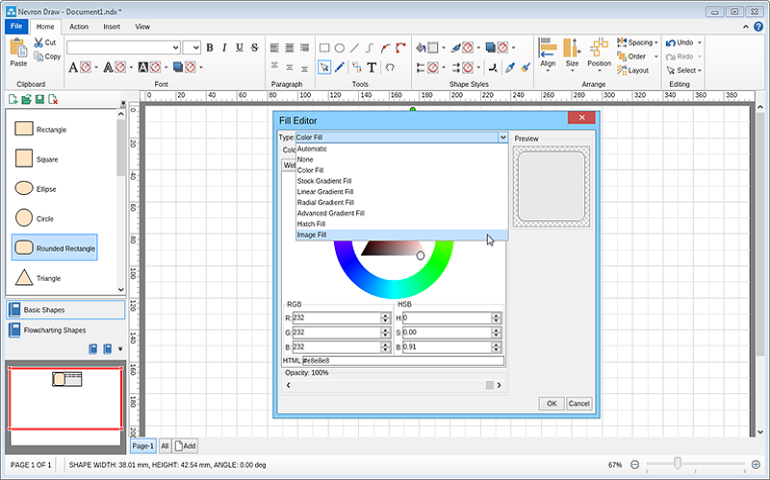
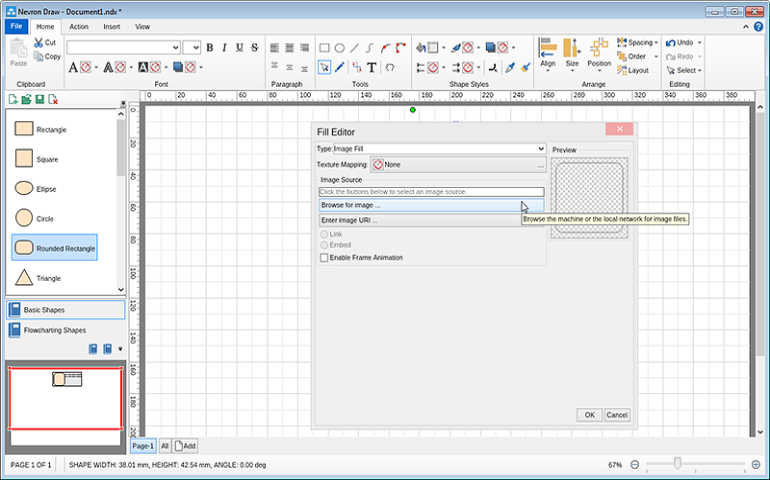
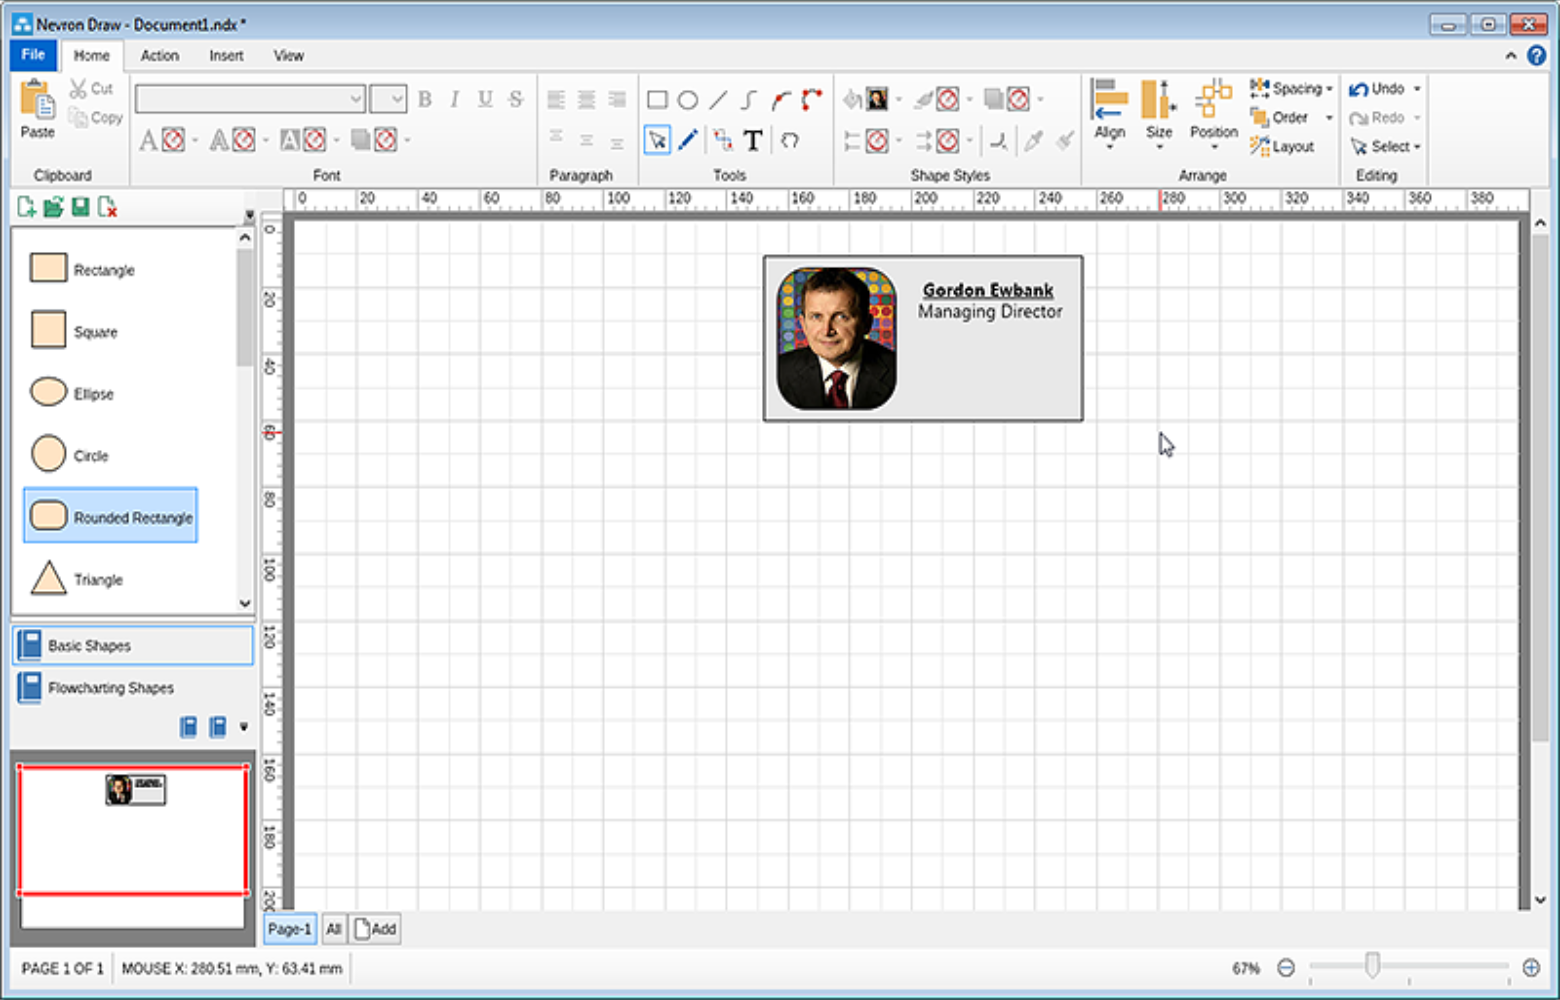
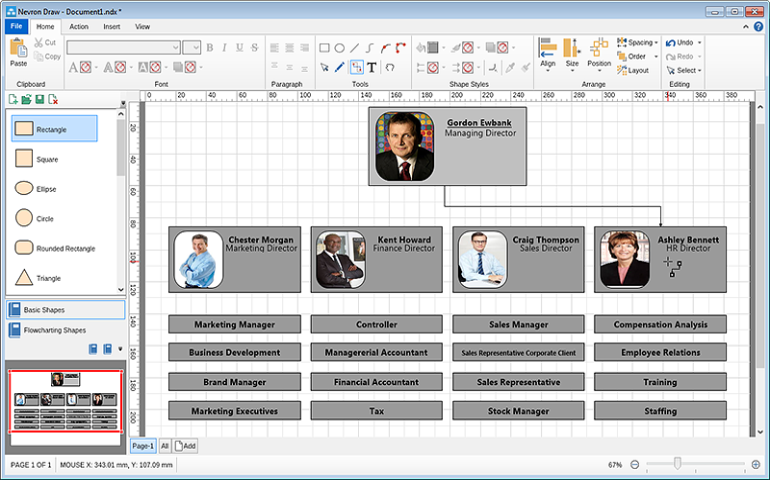
Creating an organizational chart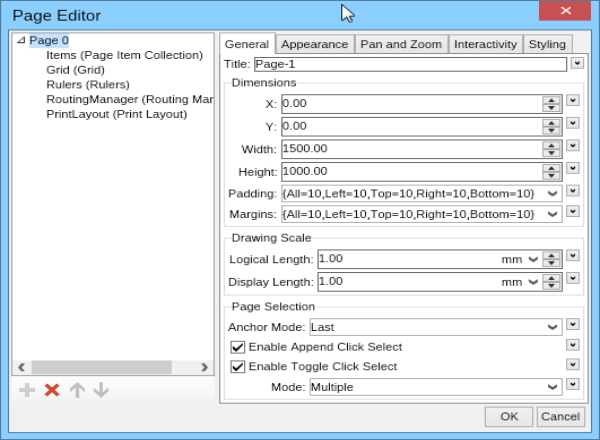 Creating an organizational chart with Nevron Draw is super easy. In this how to topic I will show you how to create a relatively complicated one within 5 minutes. Open Nevron Draw and set your page properties. For this example I am going to use page with width – 1500 and height – 1000. Once you have everything set, it’s time to get started with the Organizational chart itself. To do this I will use couple of rectangles. A bigger one as a base and a smaller one with rounder corners in which I will insert a picture of each person on each specific position in the company. Next to the picture I will include couple of lines of text. The first line will be the person’s name and the second his position in the company. You can of course adjust the positioning of pictures and text in your organization chart according to your own preferences.
|
 |  |
 |  |
 |  |
 |  |
We use cookies to allow us to automate the access and the data entry functions of our website and to correlate online ordering information for purchases you may make while at the website (if any), tailor our website to your preferences or interests, or customize promotions or marketing. For full details read our cookie policy.