Nevron Draw allows you to connect the shapes in your diagram in several ways according to your needs and preferences.
Glue to port
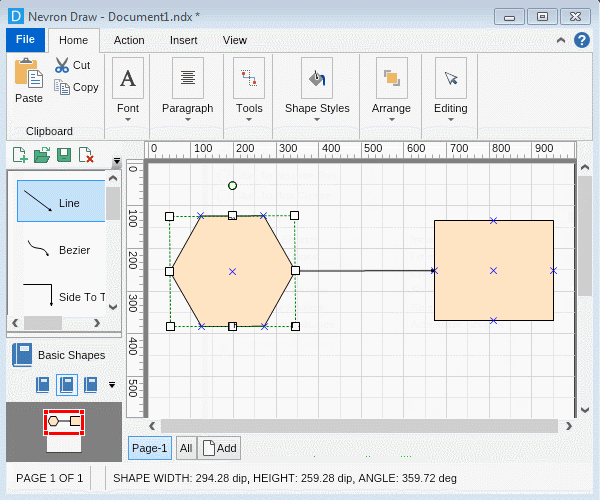
The first and default option is called “Glue to port". By choosing it, the shapes will be connected through the exact ports you initially choose, regardless of how you rotate or reposition them according to one another. To achieve this effect, select the connector type either from the Ribbon menu or from the Connector Shapes Library. Then select one of the ends of the connector and drag it to the port you like to glue it to. Do the same with the second end of the connector.
| Glue to Geometry Intersection
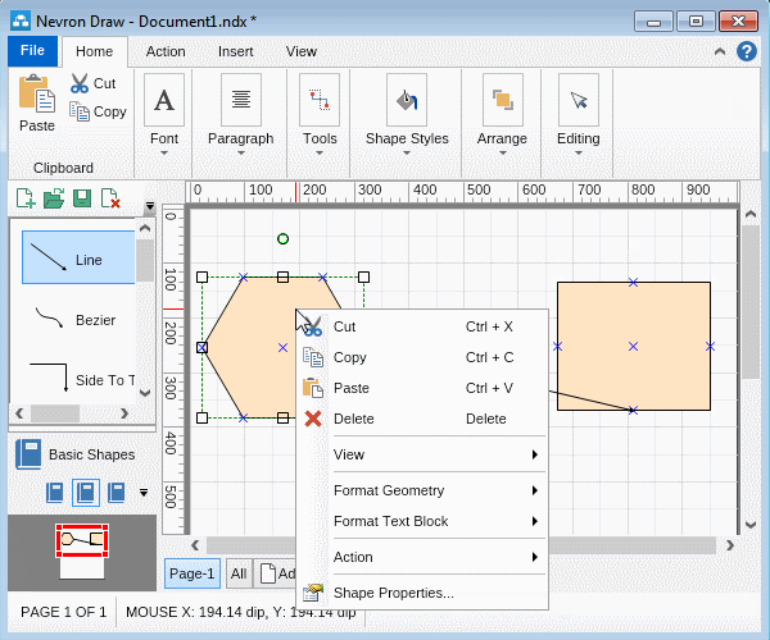
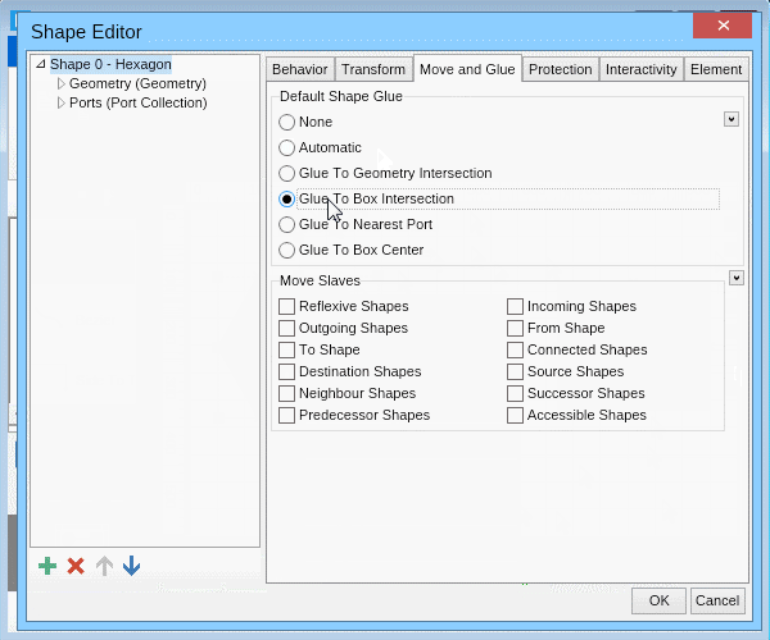
If you would like to connect the shapes to the outline of their geometrical forms you can use the “Glue to Geometry Intersection” option. By choosing it the shapes will be connected to the nearest point on the outline of the shape. To achieve this, first right click on both shapes, go to Shape Properties, Move and Glue tab and select the corresponding option. Then pick one of the ends of the connector and drag it inside the shape until you see “Glue Begin/End to Shape” tooltip.
|
|
|
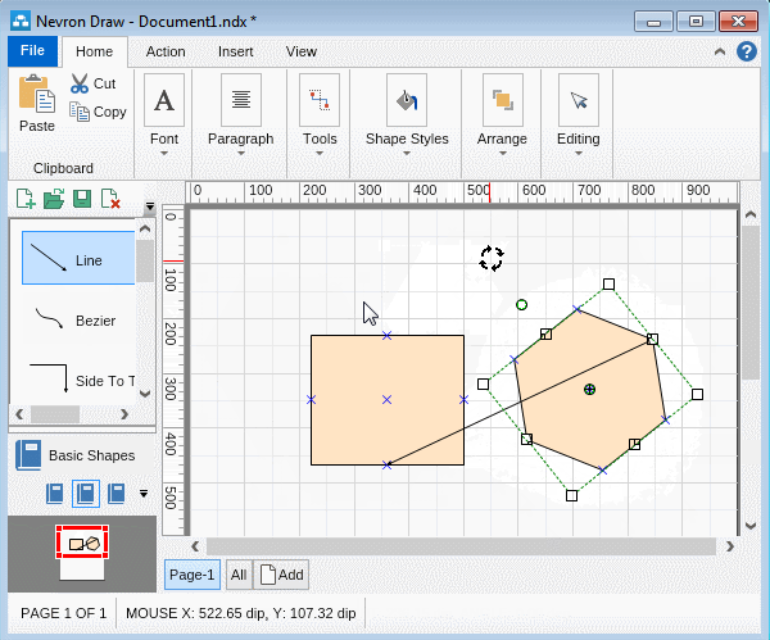
Glue to Box Intersection
The third option called “Glue to Box Intersection” allows you to connect the shapes to the square box they occupy in the design area. By choosing it the shapes will be connected to the nearest point of each shape occupation square (this is generally the selection box around any shape, which may be a star shape, circle, etc.). To do that select one of the ends of the connector and drag it inside the shape until you see “Glue Begin/End to Shape” tooltip.
| Glue to Nearest Port
The fourth option called “Glue to Nearest Port” allows you to connect the shapes via their nearest ports. By choosing it the connector will automatically select the two nearest ports of both shapes every time you move, rotate or resize either one of the shapes. To achieve this, you need to first modify the Move and Glue property of each shape, then select one of the ends of the connector and drag it inside the shape until you see “Glue Begin/End to Shape” tooltip.
|
|
|
Glue to Shape Center
The last option Nevron Draw supports for connecting shapes is calles “Glue to Shape Center”. By choosing it the shapes will connect to the center port of each of them and they will remain connected to it no matter how you rotate, reposition or resize them. To do that select one of the ends of the connector and drag it inside the shape until you see “Glue Begin/End to Shape” tooltip.
|